How to change a Bonneville battery
One of the best highlights of the Triumph Bonneville is the well-known reliability . A selection of top-quality materials with a thoroughful assembly of a bomb-proof engine, result in a machine ready to whatever you could throw at it during a huge load of kilometres.
Unfortunately, the battery that fires up the engine doesn't have the same stamina and lifespan, and eventually we would have to change them in order to ride our motorcycle. Below you may find an easy and simple guide about how to change the Bonneville Battery.
How to change a Bonneville battery - Step 1
Many of you ask us frequently about how to change a Bonneville Battery, and taking advantage of having a Bonneville bike these weeks at the showroom, we would like to explain you.
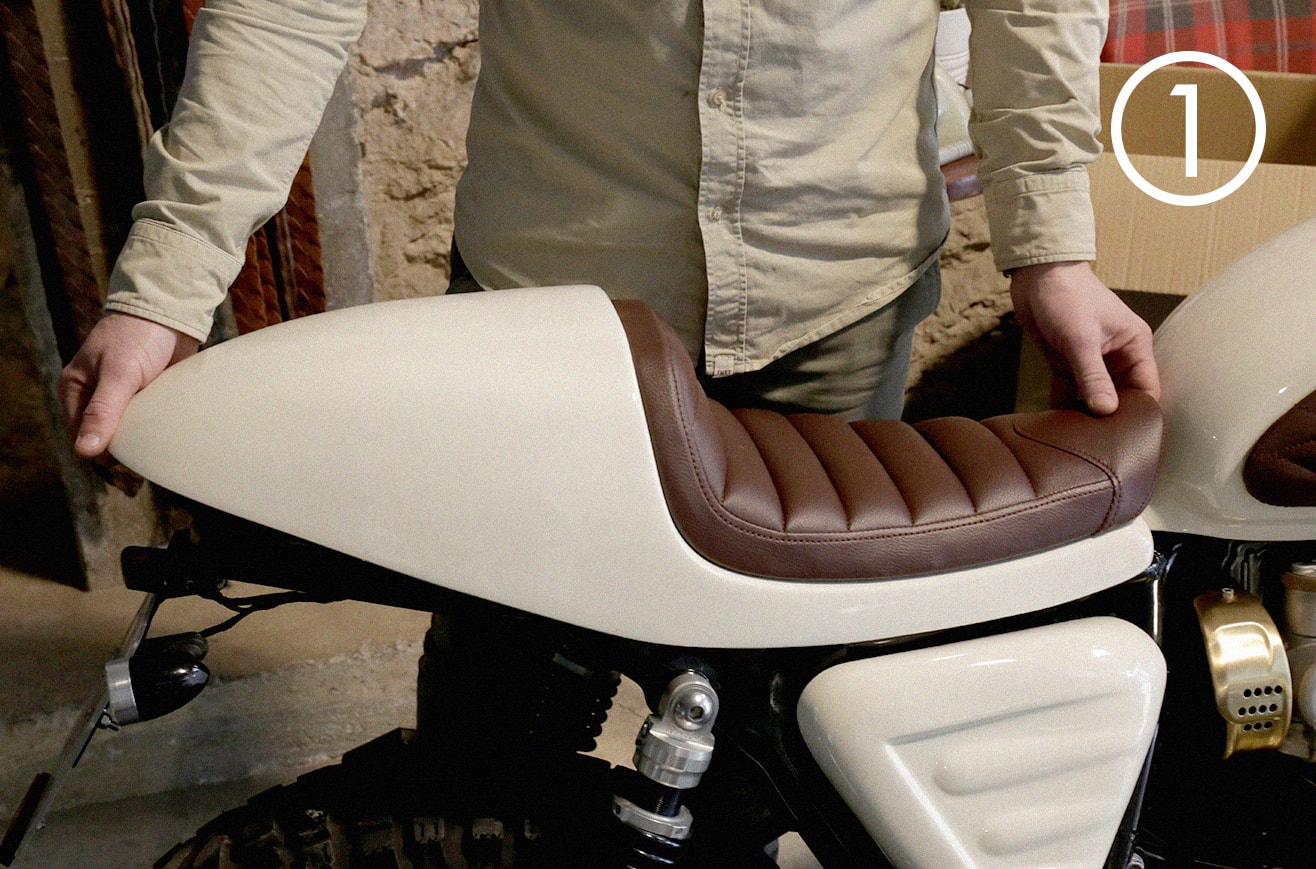
How to change a Bonneville battery - Step 2
First we have to remove the seat, which covers the place where the battery is located along with the rest of the electrical devices and wirings.
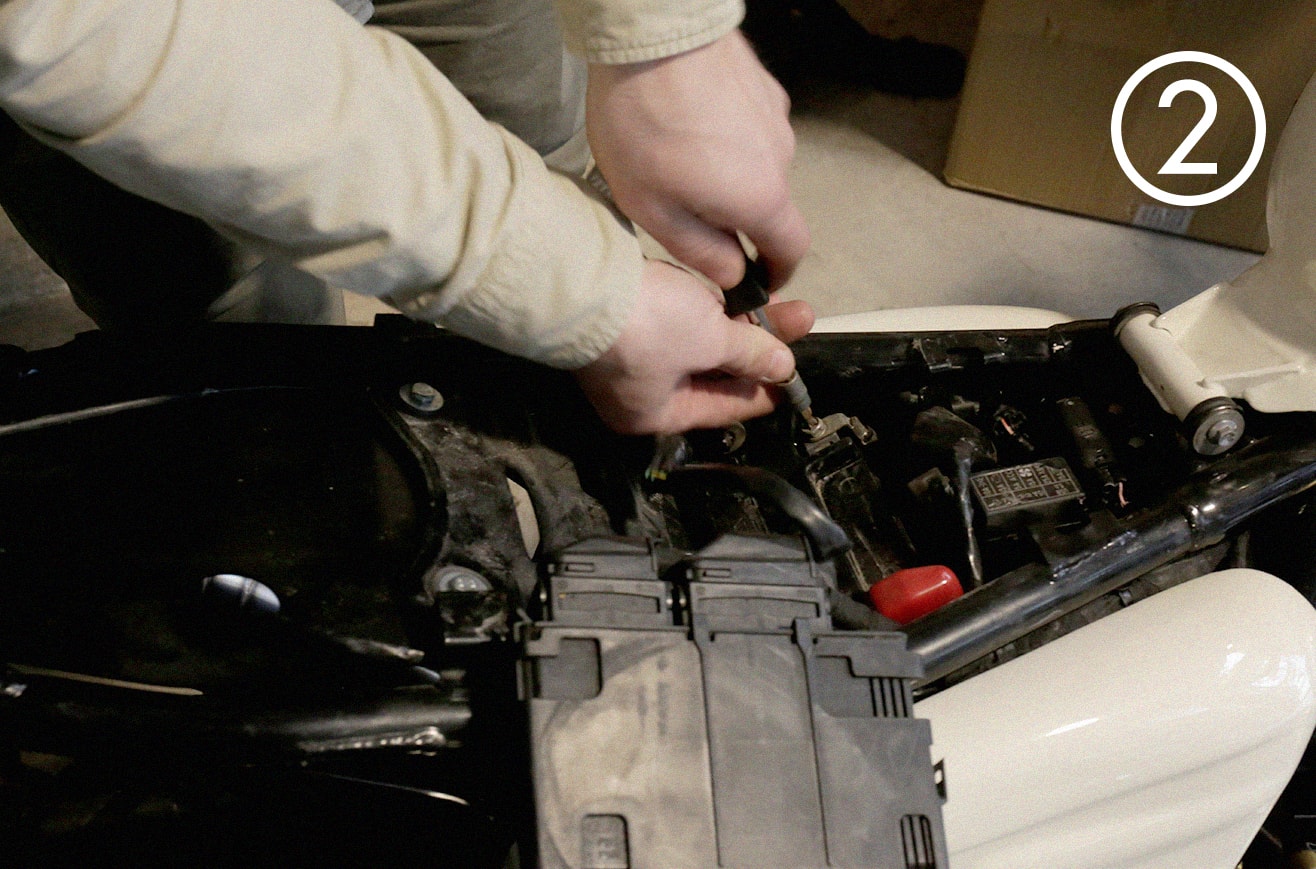
How to change a Bonneville battery - Step 3
Once the seat and the wiring are removed, we can deal with the battery, and we would be able to unscrew the connectors.
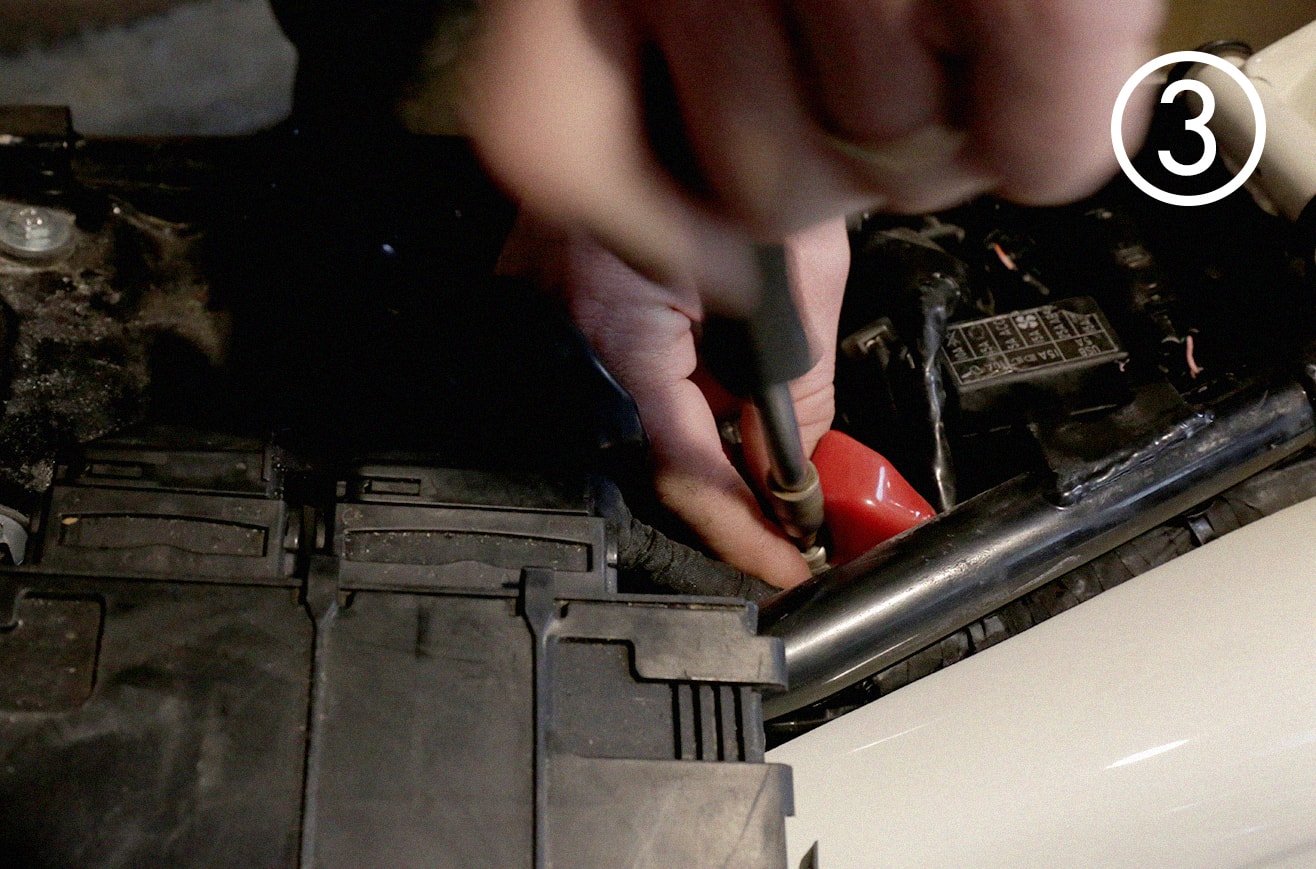
How to change a Bonneville battery - Step 4
We have to use an screw driver, with the top according to the screws that holds the clips to the connectors.
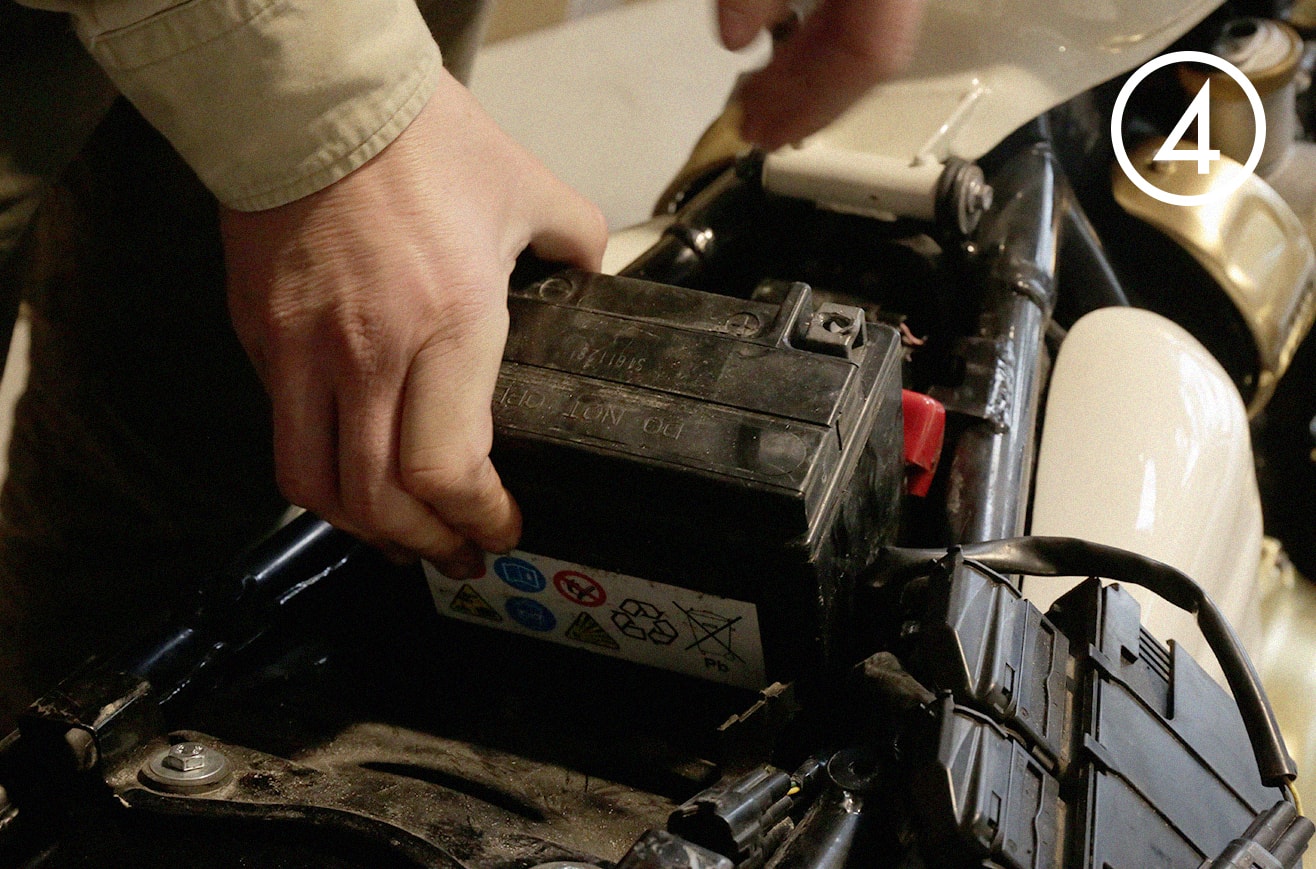
How to change a Bonneville battery - Step 5
We take out the battery and we have to be careful to not losing the flat nuts that we need later to connect it back again. Get ready your new battery, that should be a 12 volts one, with a minimum of 10 amperes.
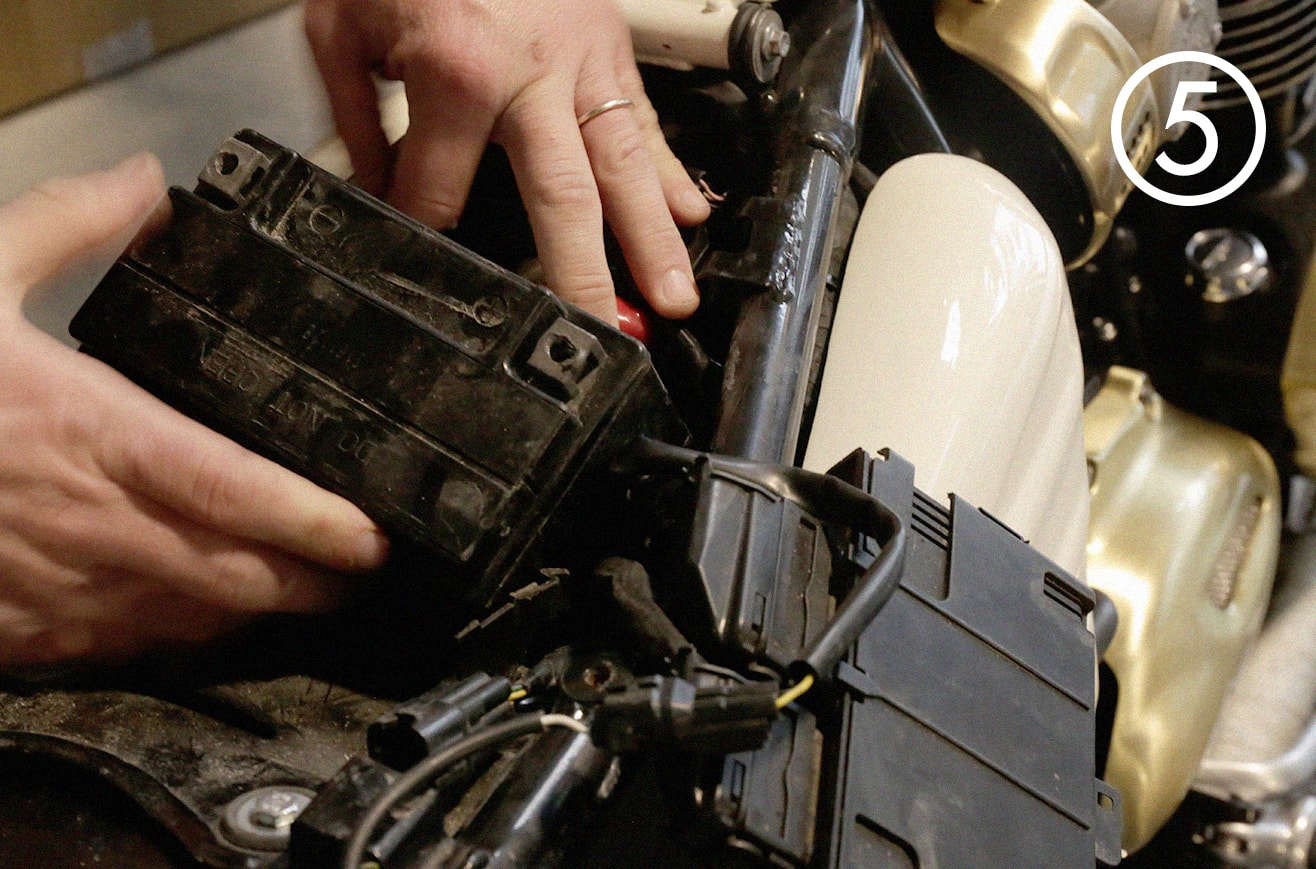
How to change a Bonneville battery - Step 6
It is very important to reconnect everything back following the basic code of negative and positive magnetic poles. Most of the times, the positive pole would be labeled with the plus sign, as well as the colour red. Therefore, negative pole is the "-" sign and black colour label.
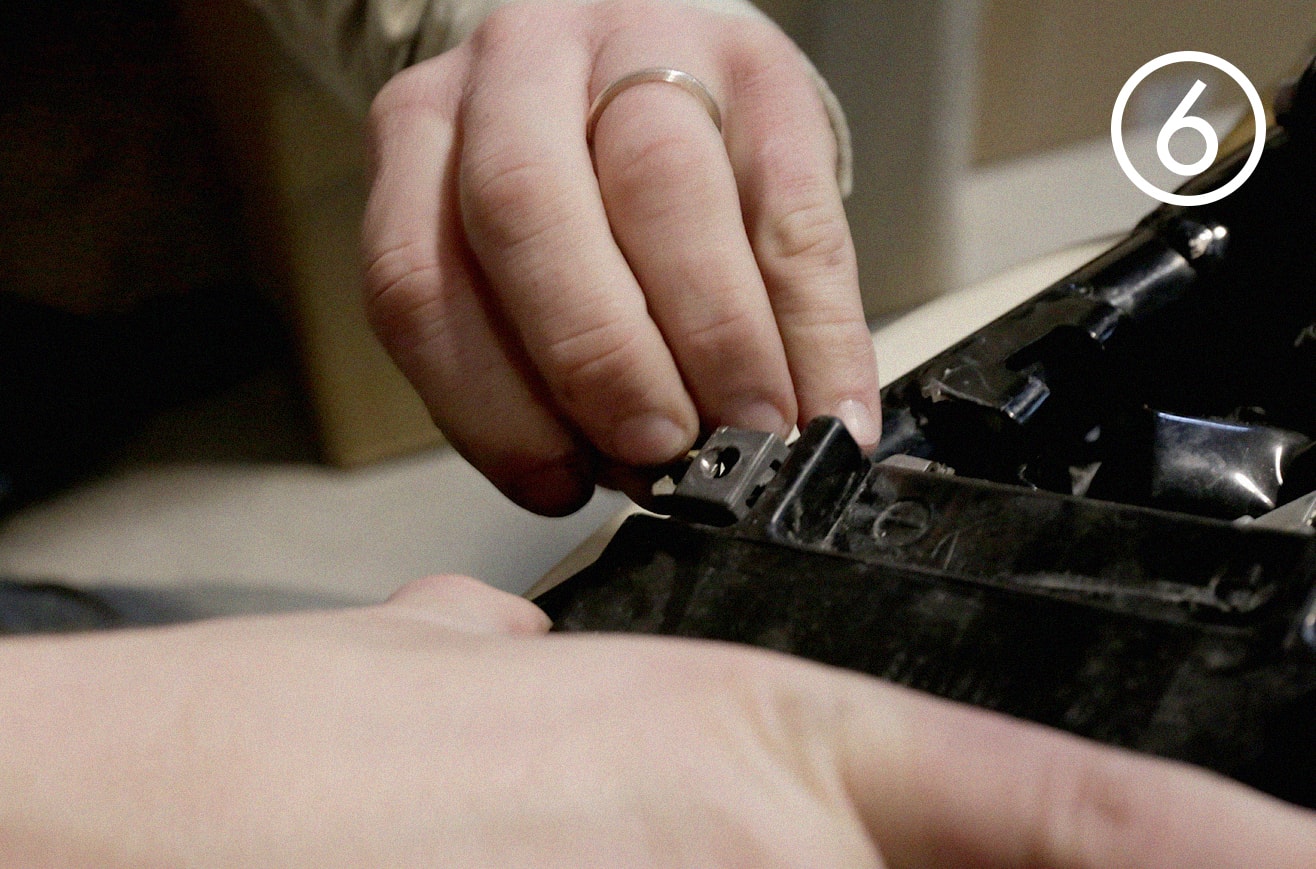
How to change a Bonneville battery - Step 7
It's also very important to thoroughly screw the connection attatchement, in order to ensure a proper contact between electrical surface, which due constant engine vibrations would ease up or get lost.
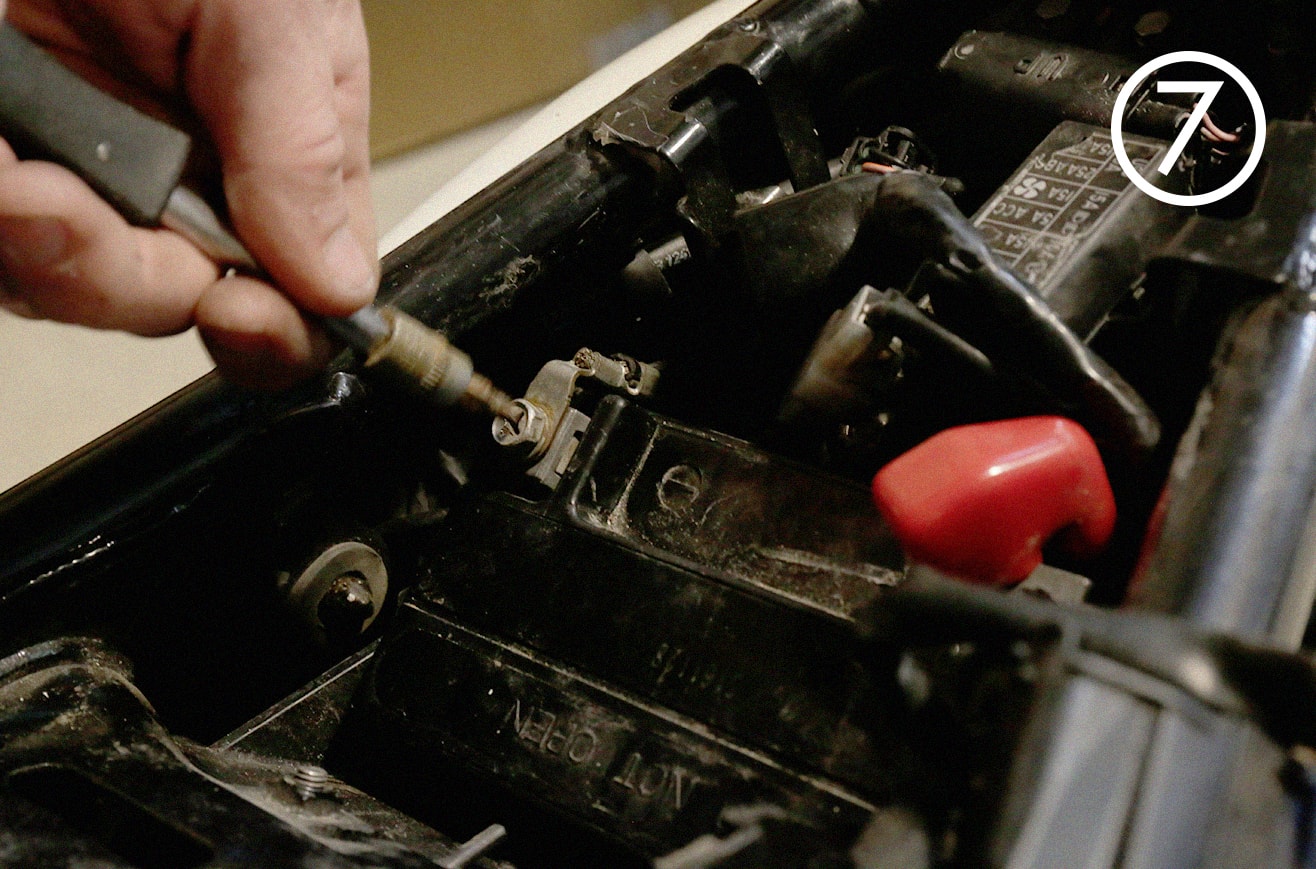
How to change a Bonneville battery - Step 8
It's always a nice call to check everything before covering and closing up.
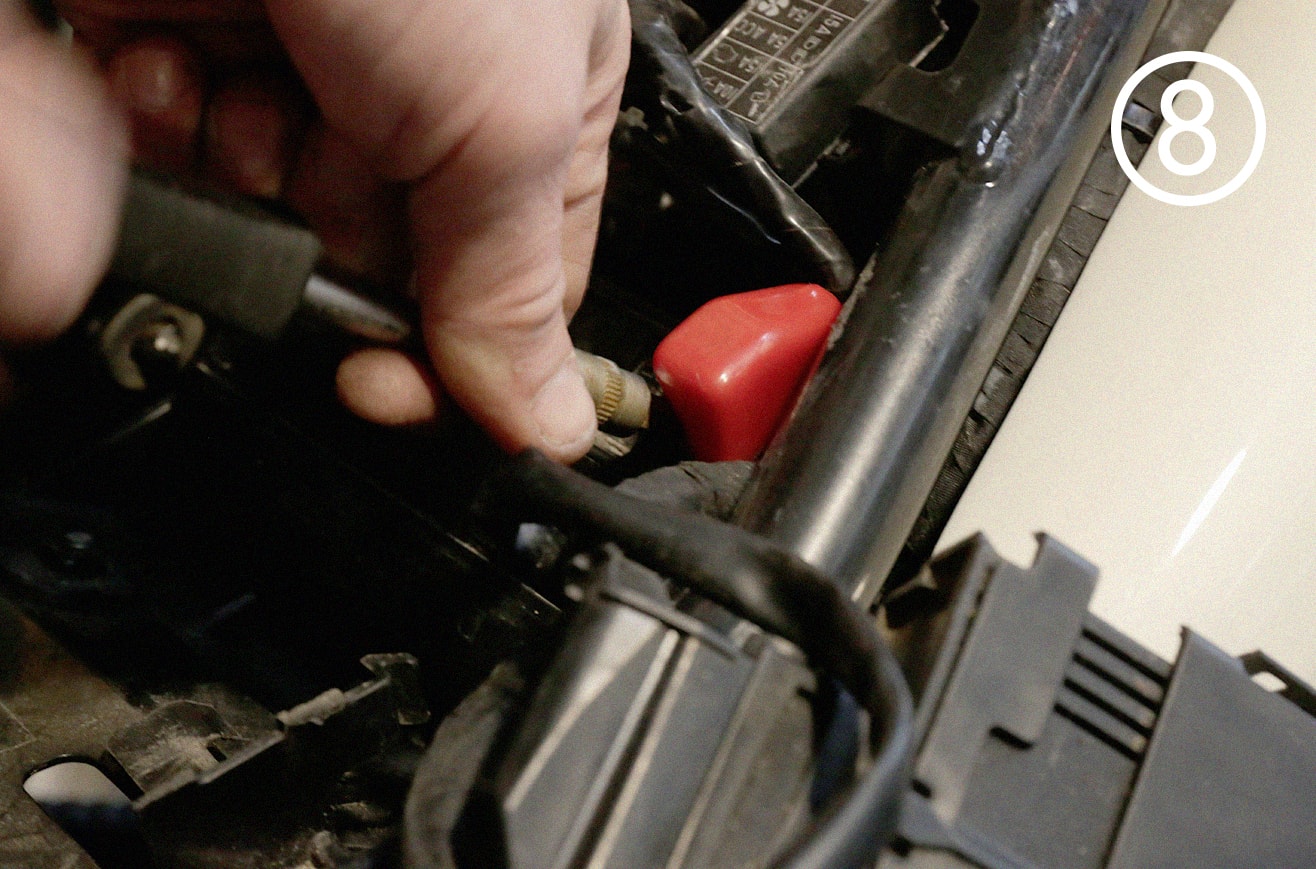
How to change a Bonneville battery - Step 9
Finally, put everything back on place, connectors and wirings, but make sure they stay in place and avoid crushing them between the seat and the frame bars.
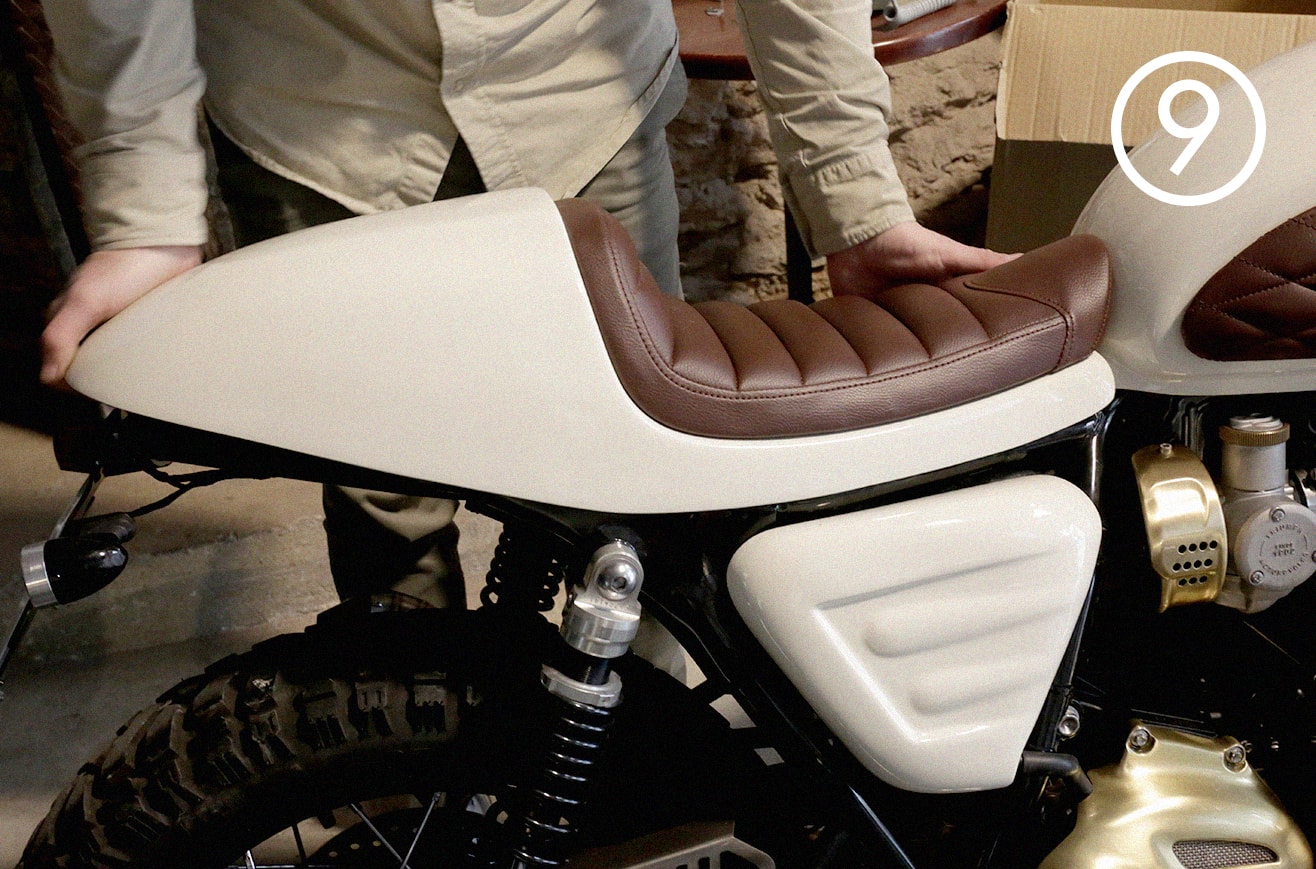
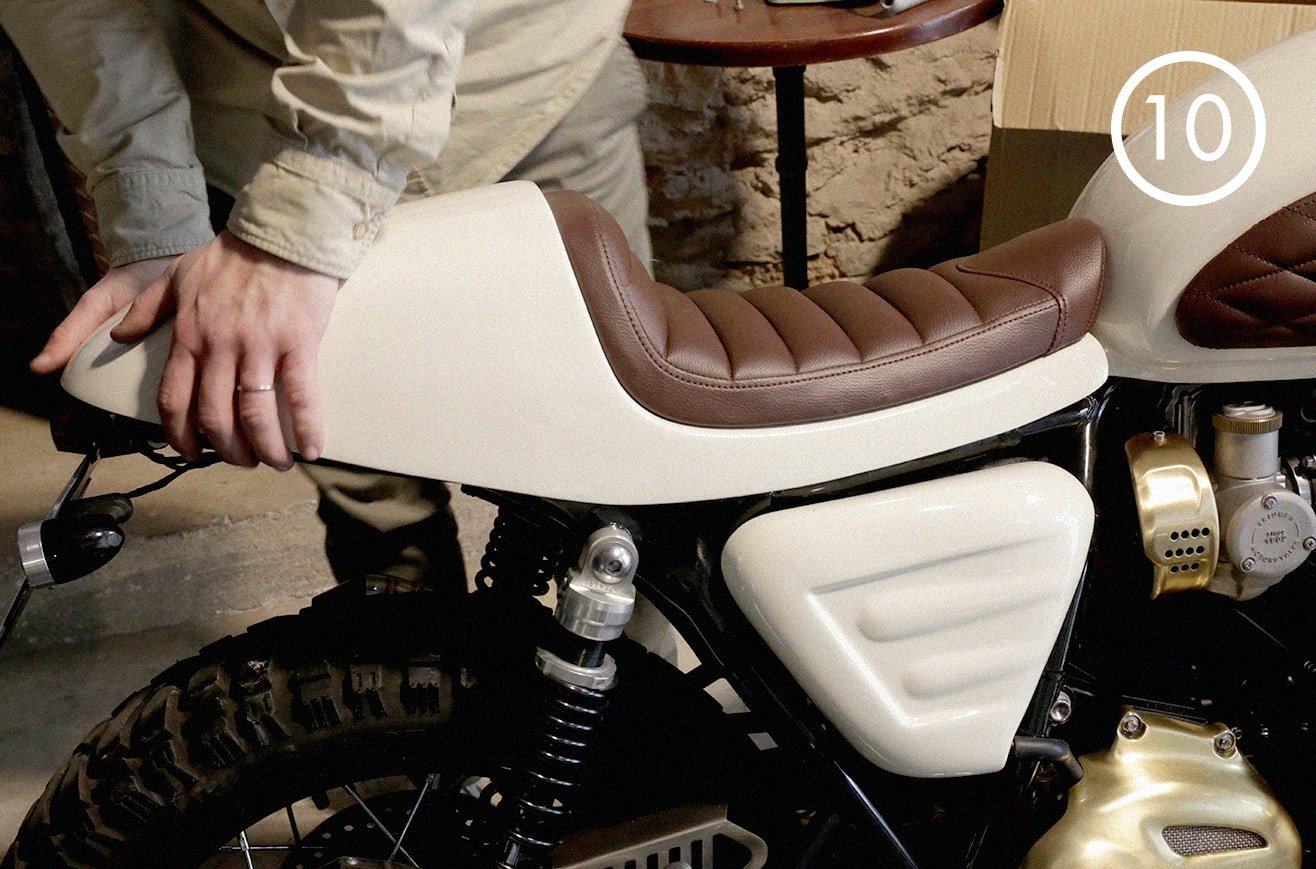
How to change a Bonneville battery - Step 10
If the seat is made by Tamarit Motorcycles, let us remind you that you have to adjust it first at the front side and then gently pushing on the back until the pin is propery inserted in the latch system as well as turning at the same time the ignition key.
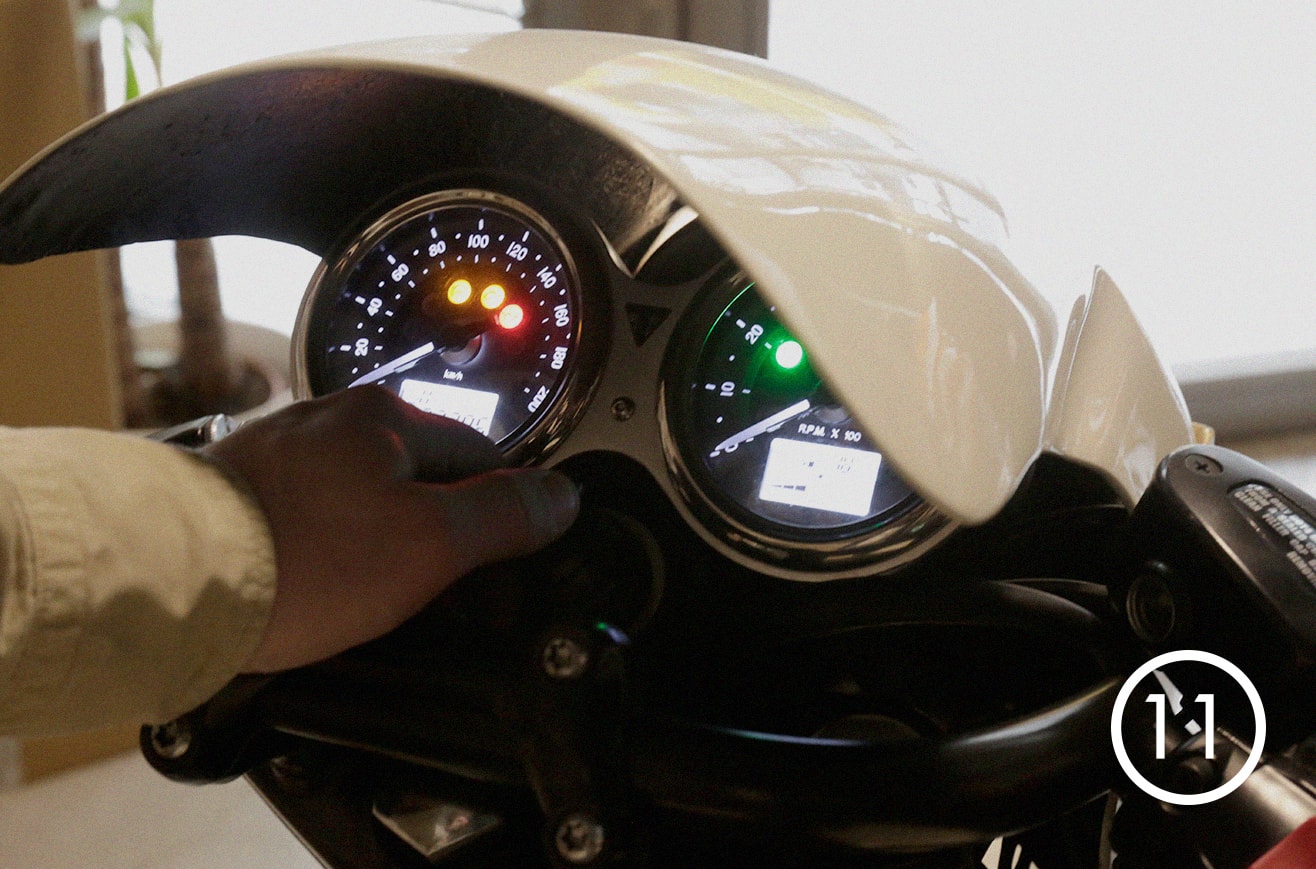
Once all the operation is finished, check by turning the motorcycle on that all screens and indicators light up properly and you don't get any error signal at the pannel.
Related Links:
Nuestros videos:
|
|
|


